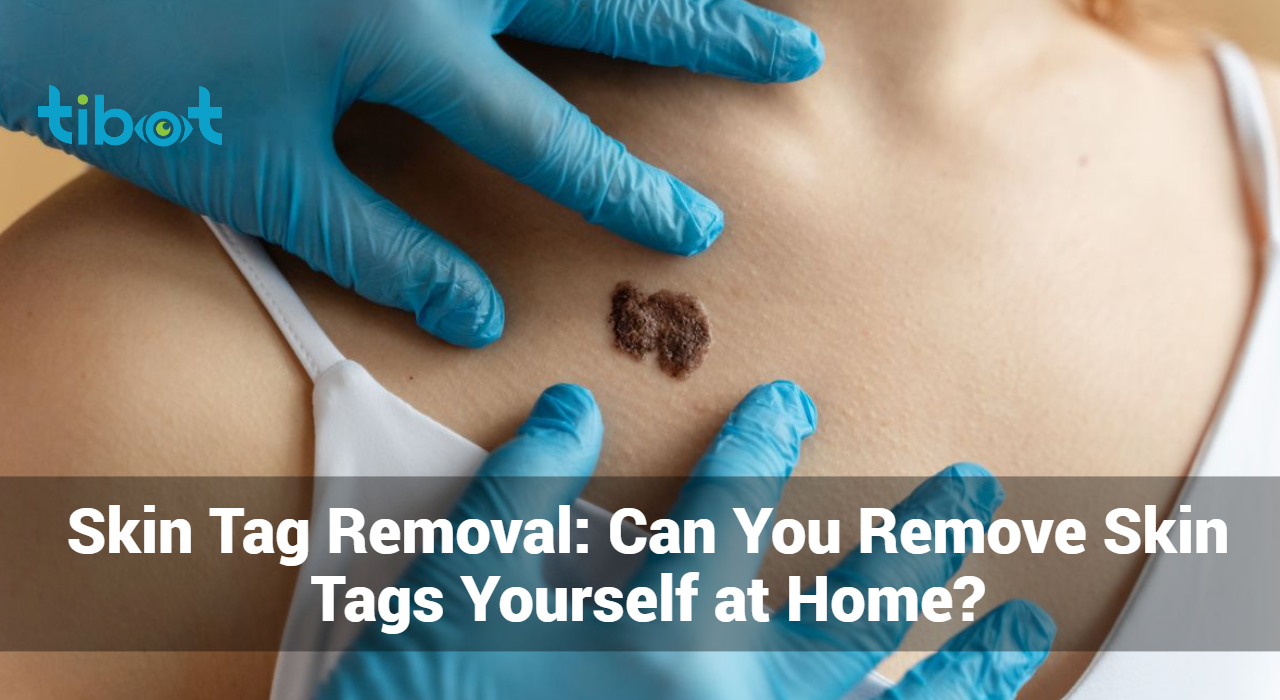
Skin Tag Removal: Can You Remove Skin Tags Yourself at Home?

Skin tags, medically known as acrochordons, are small, benign growths that commonly occur on the skin’s surface. While they are generally harmless, many individuals opt for their removal due to cosmetic concerns or discomfort. This raises the question: Can you safely remove skin tags at home? In this article, we’ll explore various home skin tag removal methods, their effectiveness, and the importance of caution when attempting to remove skin tags without professional guidance.
What is Skin Tags?
Skin tags, medically known as acrochordons, are small, benign growths that often appear on the skin’s surface. They are typically soft and flesh-colored, ranging in size from a few millimeters to a few centimeters. Skin tags commonly occur in areas where skin rubs against skin or clothing, such as the neck, armpits, groin, and under the breasts. While skin tags are harmless and usually painless, some individuals may choose to remove them for cosmetic reasons or if they become irritated or bothersome.
Some Methods For Removing Skin Tags at Home
Removing skin tags at home can be done, but it’s essential to proceed with caution to avoid infection or other complications. Here are some methods for removing skin tags at home:
- Over-the-Counter Products: There are various over-the-counter products available, such as skin tag removal creams or patches, that claim to remove skin tags. These products usually contain ingredients like salicylic acid or tea tree oil, which can help dissolve the skin tag over time. Follow the instructions carefully and be patient, as it may take several applications for the skin tag to fall off.
- Tying Off: This method involves tying a piece of dental floss or thread tightly around the base of the skin tag to cut off its blood supply. After a few days, the skin tag should shrink and fall off. Make sure to sterilize the area and the thread before tying it off to reduce the risk of infection.
- Cutting: You can use sterilized scissors or nail clippers to cut off the skin tag at its base. Before doing so, clean the area with soap and water and disinfect your tools with rubbing alcohol. Gently lift the skin tag away from the skin and snip it off. Apply pressure to stop any bleeding and then clean the area again.
- Freezing: Some over-the-counter freezing products, similar to those used to remove warts, can be used to freeze off skin tags at home. Follow the instructions carefully to avoid damaging the surrounding skin.
While these methods may be effective for some people, it’s important to exercise caution when removing skin tags at home. If you have any doubts or concerns, it’s best to consult a healthcare professional for advice. Additionally, if the skin tag is large, bleeding, or located in a sensitive area, it’s recommended to seek professional medical treatment to have it removed safely.
What are The Home Remedies for Skin Tag Removal?
Home remedies for removing skin tags can be effective for some people, although results may vary. Here are a few home remedies that people often try:
- Apple Cider Vinegar: Apply apple cider vinegar directly to the skin tag using a cotton ball. Cover the area with a bandage and leave it overnight. Repeat this process daily until the skin tag falls off.
- Tea Tree Oil: Tea tree oil has natural antibacterial and antiviral properties. Apply a few drops of tea tree oil directly to the skin tag and cover it with a bandage. Repeat this process daily until the skin tag disappears.
- Castor Oil and Baking Soda: Mix castor oil and baking soda to form a paste. Apply the paste to the skin tag and cover it with a bandage. Leave it on overnight and rinse it off in the morning. Repeat this process daily until the skin tag falls off.
- Garlic: Crush a garlic clove to release its juices, then apply the juice directly to the skin tag. Cover the area with a bandage and leave it on overnight. Rinse it off in the morning and repeat the process daily.
- Banana Peel: Cut a small piece of banana peel and place it over the skin tag. Secure it with a bandage and leave it on overnight. Repeat this process daily until the skin tag disappears.
- Aloe Vera: Apply fresh aloe vera gel directly to the skin tag and cover it with a bandage. Leave it on overnight and rinse it off in the morning. Repeat this process daily.
It’s important to note that while these home remedies may work for some people, they are not guaranteed to be effective for everyone. Additionally, it’s essential to be patient, as it may take several weeks for the skin tag to fall off. If you have any concerns or if the skin tag is causing discomfort, it’s best to consult a healthcare professional for advice.
Over-the-counter Products for Skin Tag Removal?
There are various over-the-counter products available for treating skin tags. These products typically contain ingredients that help to dry out the skin tag or cause it to fall off. Here are some common types of over-the-counter products for skin tags:
- Topical Solutions: These solutions often contain ingredients like salicylic acid or tea tree oil, which can help to dry out the skin tag. They are usually applied directly to the skin tag using a dropper or applicator.
- Freezing Sprays: Freezing sprays, also known as cryotherapy products, use cold temperatures to freeze the skin tag, causing it to die and fall off. These products are often available in aerosol cans and are sprayed directly onto the skin tag.
- Skin Tag Removal Patches: These are adhesive patches that are applied directly to the skin tag. They typically contain ingredients that help to dry out the skin tag over time, causing it to fall off.
- Skin Tag Removal Kits: These kits typically contain a combination of topical solutions, freezing sprays, and/or removal patches. They provide a comprehensive approach to removing skin tags at home.
- Natural Remedies: Some over-the-counter products contain natural ingredients like essential oils or herbal extracts, which are believed to help dry out and remove skin tags.
It’s important to carefully follow the instructions provided with these products and to be patient, as it may take several weeks for the skin tag to fall off. Additionally, it’s always a good idea to consult with a healthcare professional before using any over-the-counter product, especially if you have any underlying health conditions or concerns.
What Are The Surgical Procedures for Skin Tag Removal?
Surgical procedures are often used to remove skin tags, especially when they are large, numerous, or located in sensitive areas. Here are some common surgical methods for removing skin tags:
- Excision: In this procedure, the skin tag is cut off with a scalpel or surgical scissors. Before the procedure, the area is typically numbed with a local anesthetic to minimize discomfort. The skin tag is then carefully removed, and the wound may be closed with stitches if necessary.
- Cauterization: Cauterization involves burning off the skin tag using a special tool that generates heat, such as a cautery pen or electrocautery device. This method is effective at removing the skin tag and sealing the wound to prevent bleeding.
- Cryotherapy: Cryotherapy, or freezing, involves applying liquid nitrogen to the skin tag to freeze it. This causes the skin tag to die and fall off over time. Cryotherapy is less invasive than excision and cautery and typically does not require anesthesia.
- Ligation: Ligation involves tying off the base of the skin tag with a sterile thread or suture. This cuts off the blood supply to the skin tag, causing it to eventually shrink and fall off. Ligation may be done alone or in combination with other methods.
- Laser Therapy: Laser therapy uses focused beams of light to remove the skin tag. The laser energy heats and destroys the tissue, effectively removing the skin tag. Laser therapy is precise and may be preferred for smaller skin tags or those in delicate areas.
- Shave Excision: Shave excision involves using a razor blade or similar tool to shave off the skin tag at the surface of the skin. This method is often used for larger skin tags or those in hard-to-reach areas. It may result in minimal scarring.
Before undergoing any surgical procedure for skin tag removal, it’s important to consult with a dermatologist or healthcare professional to determine the most appropriate method for your specific situation. They can evaluate the skin tag, discuss treatment options, and ensure that the procedure is performed safely and effectively.
Track and Manage your Skin Treatment Using a Comprehensive Skin Care App
Download Tibot Now
What Should You Need To Know Skin Tag Removal Aftercare Tips?
After removing skin tags through surgical procedures, it’s essential to follow proper aftercare to promote healing and reduce the risk of complications. Here are some removal aftercare tips:
- Keep the Area Clean: Wash the treated area with mild soap and water daily to keep it clean and prevent infection. Gently pat the area dry with a clean towel afterward.
- Apply an Antibiotic Ointment: Applying an over-the-counter antibiotic ointment to the wound can help prevent infection. Follow the instructions on the product label for proper application.
- Cover the Wound: If your healthcare provider recommends it, cover the treated area with a sterile bandage or gauze pad to protect it from friction, irritation, and external contaminants.
- Avoid Scratching or Picking: Refrain from scratching or picking at the treated area, as this can disrupt the healing process and increase the risk of infection. If itching is severe, consult your healthcare provider for appropriate remedies.
- Keep the Area Dry: Moisture can prolong the healing process and increase the risk of infection. Keep the treated area dry by avoiding prolonged exposure to water, such as swimming or soaking in baths, until it has fully healed.
- Avoid Sun Exposure: Protect the treated area from direct sunlight, as sun exposure can cause irritation and increase the risk of scarring. If going outdoors, cover the area with clothing or apply a broad-spectrum sunscreen with a high SPF.
- Follow Healthcare Provider’s Instructions: Follow any specific instructions provided by your healthcare provider regarding wound care, activity restrictions, and follow-up appointments. Report any signs of infection or complications promptly.
- Monitor for Signs of Infection: Keep an eye on the treated area for signs of infection, such as increased redness, swelling, pain, warmth, or drainage of pus. If you notice any of these symptoms, contact your healthcare provider for further evaluation and treatment.
By following these aftercare tips diligently, you can help ensure proper healing and minimize the risk of complications after skin tag removal. If you have any concerns or questions during the healing process, don’t hesitate to reach out to your healthcare provider for guidance.
Conclusion:
While it may be tempting to remove skin tags at home, prioritizing safety and seeking professional guidance is paramount. Consulting a healthcare professional ensures proper assessment, reduces the risk of complications, and provides peace of mind. Remember, when it comes to skin tag removal, safety should always come first.
Analyze Skin Rash
Use our Skin Symptom Checker to find what is causing an itchy rash on your Skin


Learn about your skin problems for free
Our AI tool is available on the web and on mobile device!
Recent Posts
- Impact of Genital Skin Conditions on Male and Female Health
- Managing Nail Psoriasis: Causes, Symptoms, And Home Remedies
- Types Of Blistering Skin Conditions: How to Recognize & Treat Them
- What Are Razor Bumps: Causes, Home Remedies, & Treatment
- Managing Genital Psoriasis: Symptoms, Causes, and How to Treat It


